

How To Build Shaker Drawer Fronts
How to Make Quick and Easy Shaker Style Drawer Fronts Post Preview: You'll find out how to build simple drawer fronts that can be used on cabinets and furniture. These simple raised panel drawer fronts are easy to make and truly look professional.
One of the things I love about DIYing is that you can make anything.
The possibilities are endless.
A few years back, I undertook a large bookshelf project with a window seat. For the cabinet under the window seat, I bought premade cabinet doors. They look awesome, and the whole project turned out really nice.
My most recent project was building an entryway piece with cubby shelves and hooks – which is a similar project. At the last minute, we decided we would add in some custom drawers to hold more things.
This time around, I made the drawers and the drawer fronts, and I couldn't believe how simple it was. And, my wife was blown away at just how amazing they look.
Just as beautiful and professional as the store-bought cabinet doors from the bookshelf project – and it couldn't have been easier.
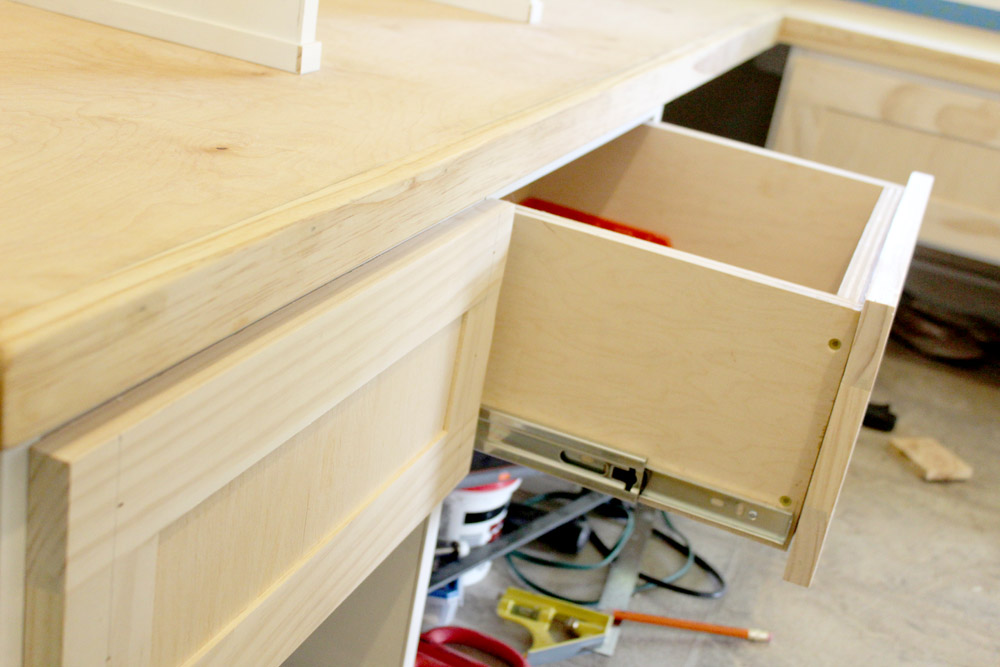
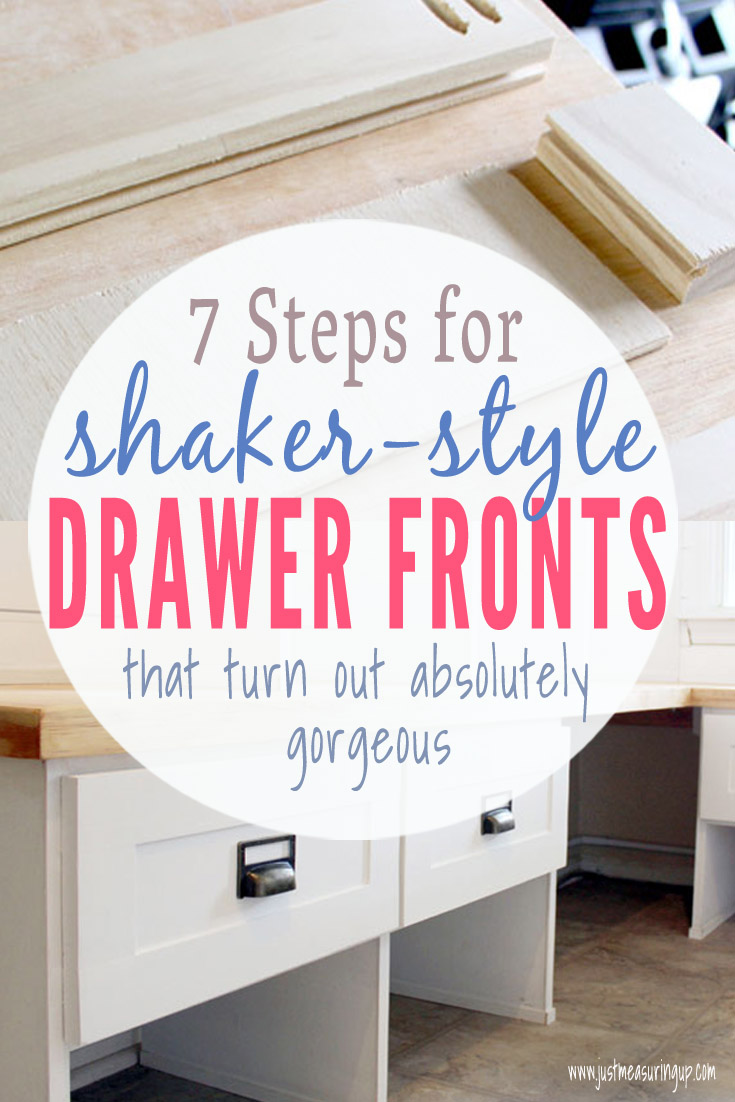
Today, I'm sharing exactly how I made these DIY shaker-style drawer fronts for our entryway cubby shelf storage project.

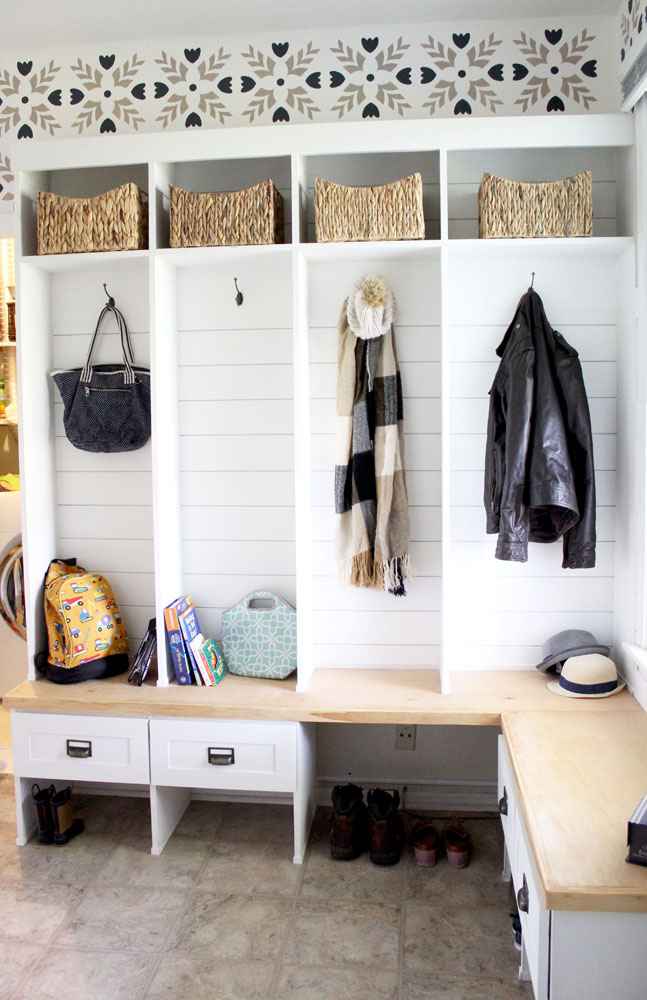
Here's a picture of the end result of these basic drawer fronts. While very simple in design and easy construct, you can see that they look elegant, especially with the shiplap paneling and the card catalog drawer pulls.
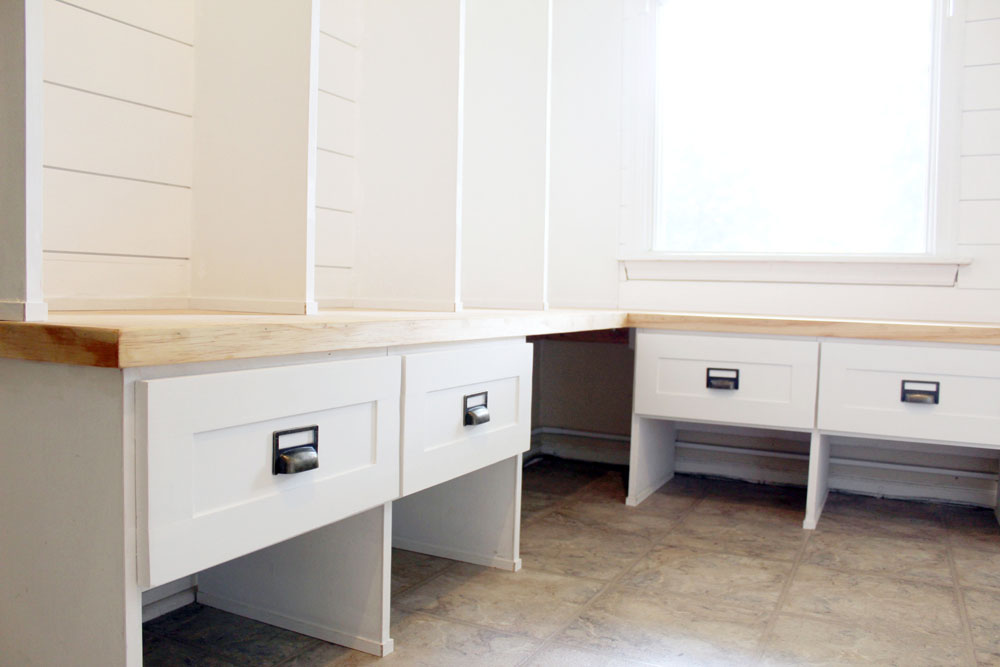
Looks very professional, don't they? You too can make these faceplates yourself in very little time.
In case you need some help making a drawer, check out my drawer post here.
Materials Needed for Drawer Fronts
- 3/4″ thick pine board strips, 2 1/4″ wide
- 3/8″ thick plywood
- 1 1/4″ pocket hole screws
- Finishing nails
- Construction Adhesive
- Paint
- Drawer Handle
Tools Needed for Drawer Fronts
- Miter saw
- Table saw (or circular saw with edge guide)
- Coarse sand paper
- Finishing nail gun (optional, you could use some screws instead)
- Drill
- Kreg pocket hole jig
- Rubber mallet
- 12″ bar clamp
- Face clamp (optional, but helps)
1. Measuring & Making the Cuts for the Drawer Fronts
To determine the size of the drawer front, look at the hole that your drawer will go in. You want your drawer front to be at least a ¼" bigger on each side than the hole or opening that the drawer will go in.
So if the drawer hole/opening is 8 inches wide, then you want your drawer front to be at least 8 ½ inches.
So my faceplate drawer design consists of 5 pieces of wood. I used a combination of pine boards and plywood because that is what I had on hand. Four ¾" thick pieces form a border (2 ¼" thick), wrapping a rectangular piece of plywood in the middle.
I liked the thickness of 2 ¼ for the border – it made for a really elegant-looking, shake-style piece.
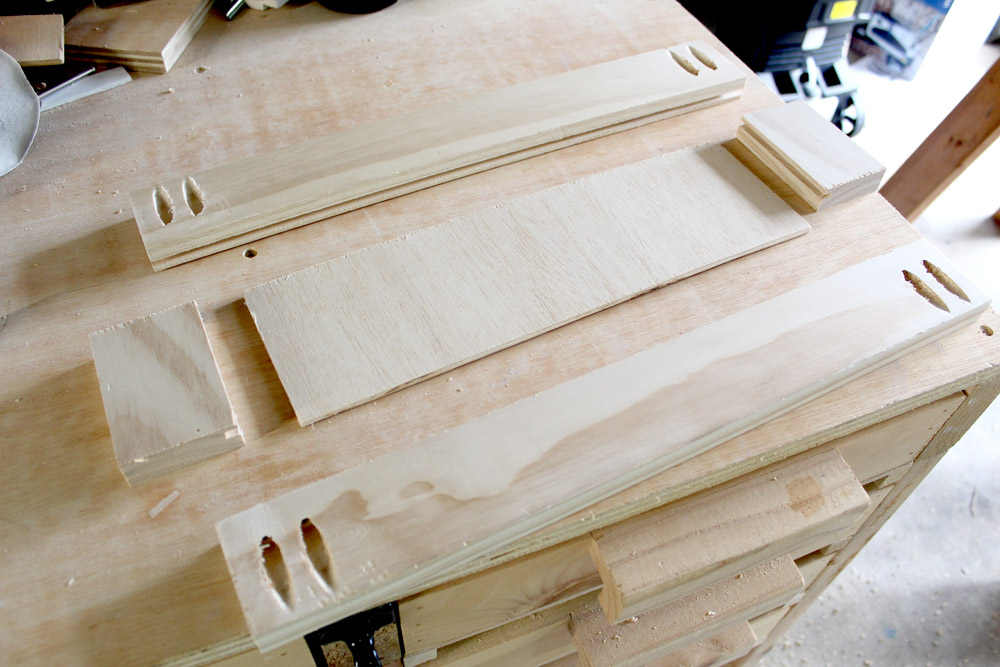
Pictured below are the cuts I made for the homemade drawer fronts:
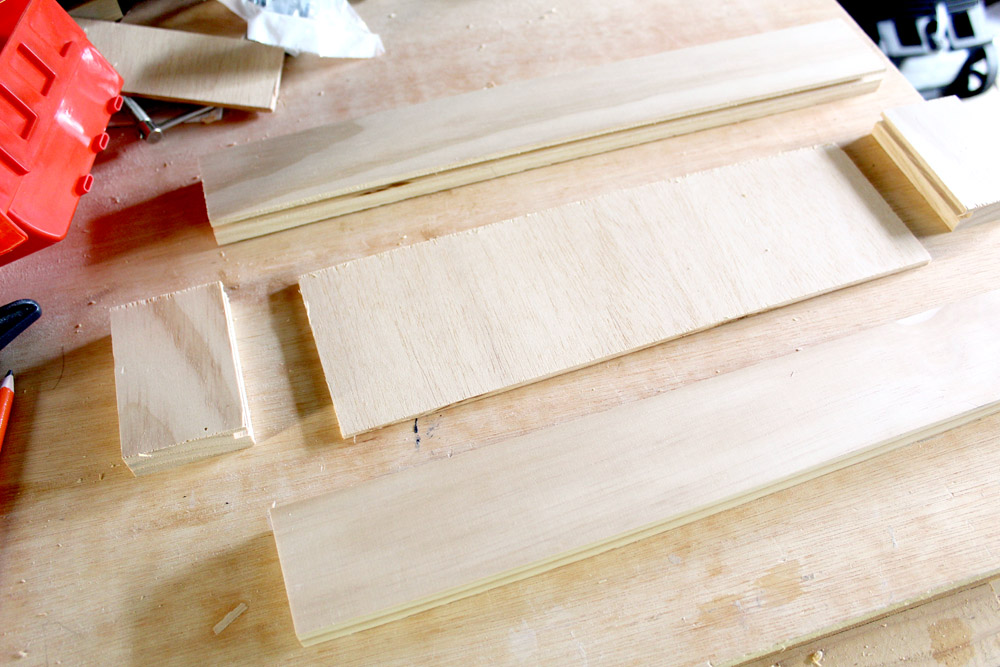
Did you notice in the picture (above) that the four perimeter pieces of the drawer front have a groove in them?
That groove is to hold the center plywood piece in place. I cut the groove with my table saw with the blade set to a very shallow depth of ¼ inch. If you don't have a table saw, you could accomplish the same cut with a circular saw and edge guide.
Using my table saw, I cut the grooves into 2 ¼" wide strips of pine boards (the strips were originally cut from my table saw as well). I did have to make the groove cut with three passes on the saw.
The saw blade was a standard ⅛" thick blade, but the groove needed to be at least ⅜"'wide to fit the plywood.
So after each pass on my table saw, I nudged my guide fence ever so slightly for the next cut. Next I used my miter saw to divvy up the strips for all my drawer fronts.
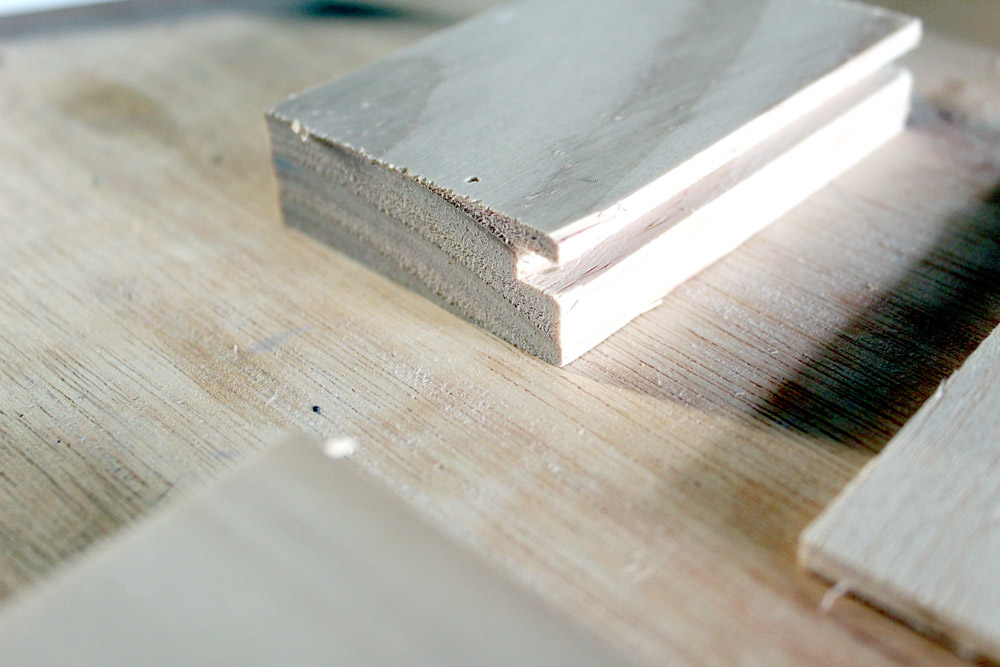
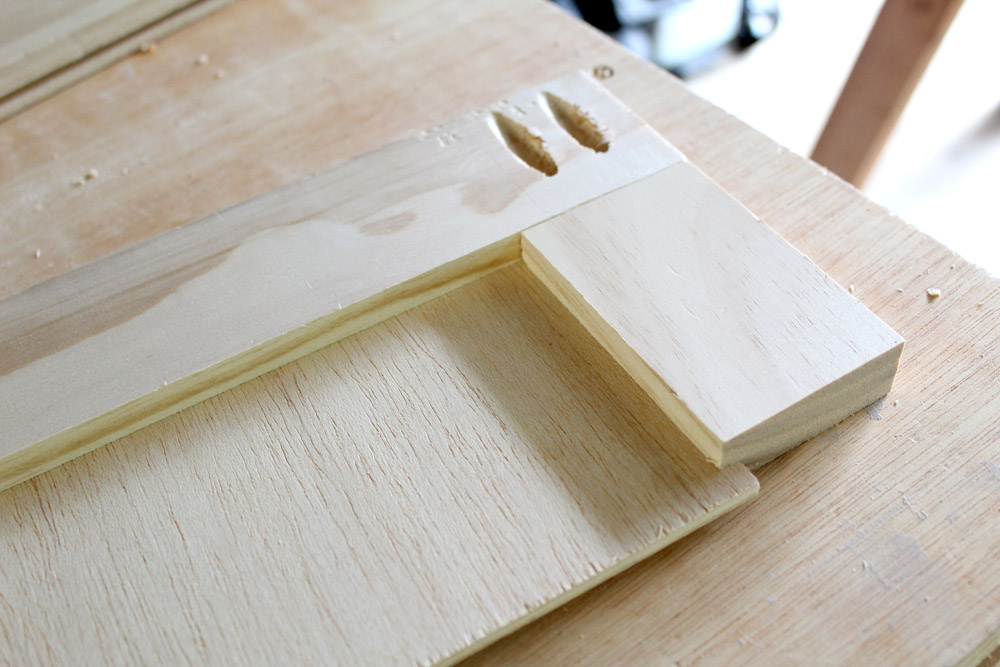
Here's a closer shot of the grooves on the bordering pieces:
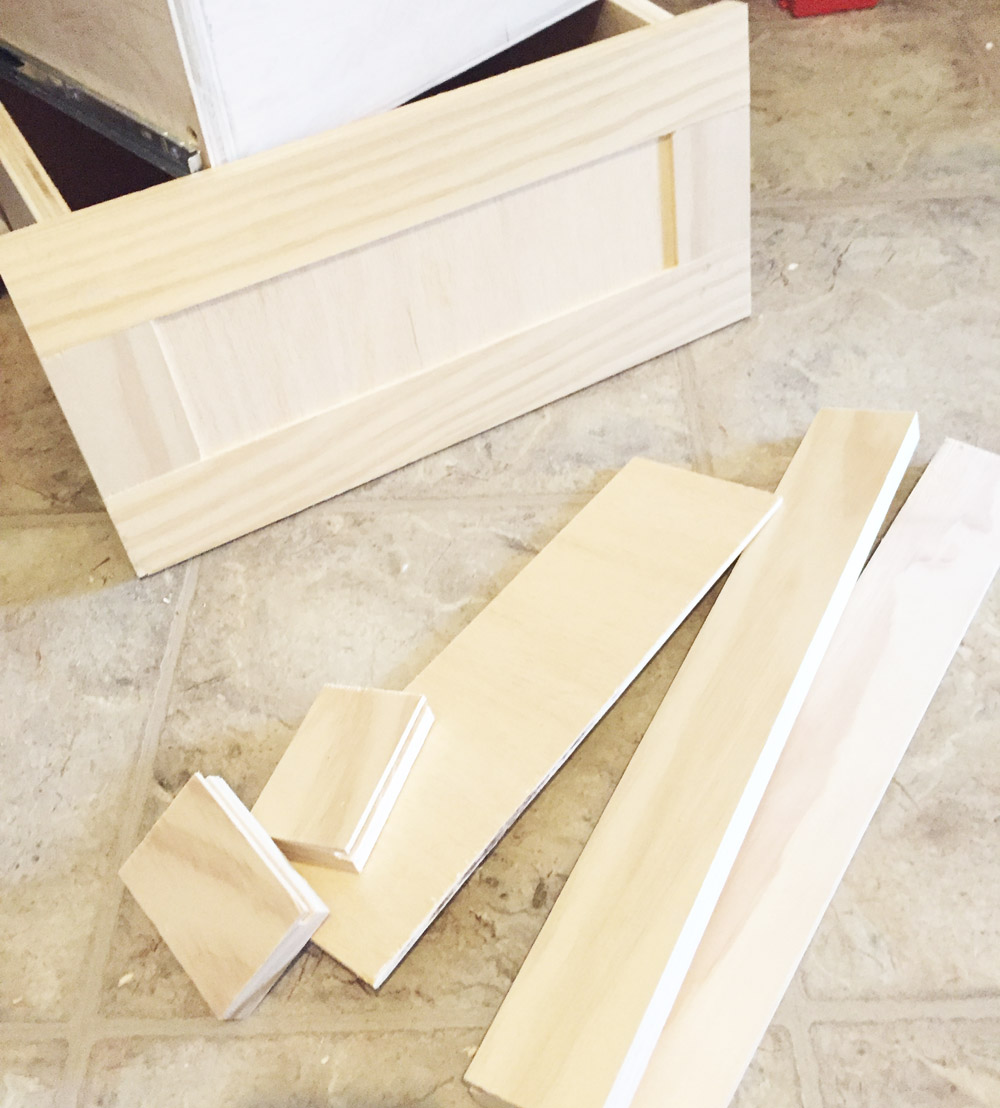
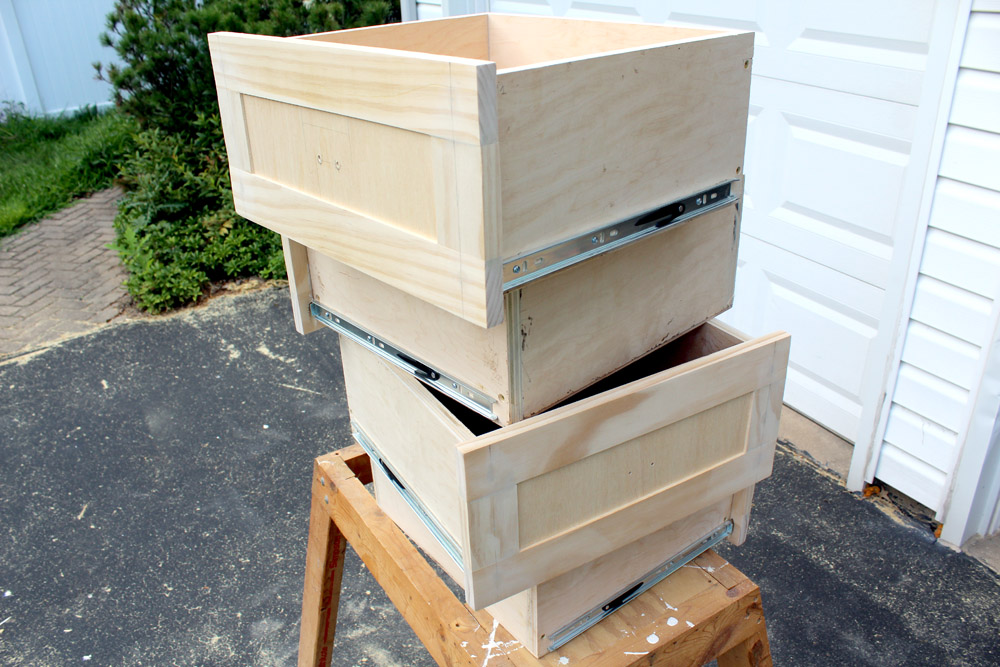
Here are the pieces I made for the drawer front, along with an assembled one in the back (below).
2. Drilling Pocket Holes for the Drawer Fronts
After the pieces for the DIY drawer fronts have been cut, I drilled pocket holes into the bordering pieces (the two long pieces – see pic below) to secure them to each other.
Here's my Kreg pocket hole jig in action for this task:
Here are all the pocket holes required for a solid DIY drawer front:
Don't worry about the holes in the final drawer front. These pocket holes were drilled into the rear facing side of the drawer front, so they will not be visible once attached to the drawer.
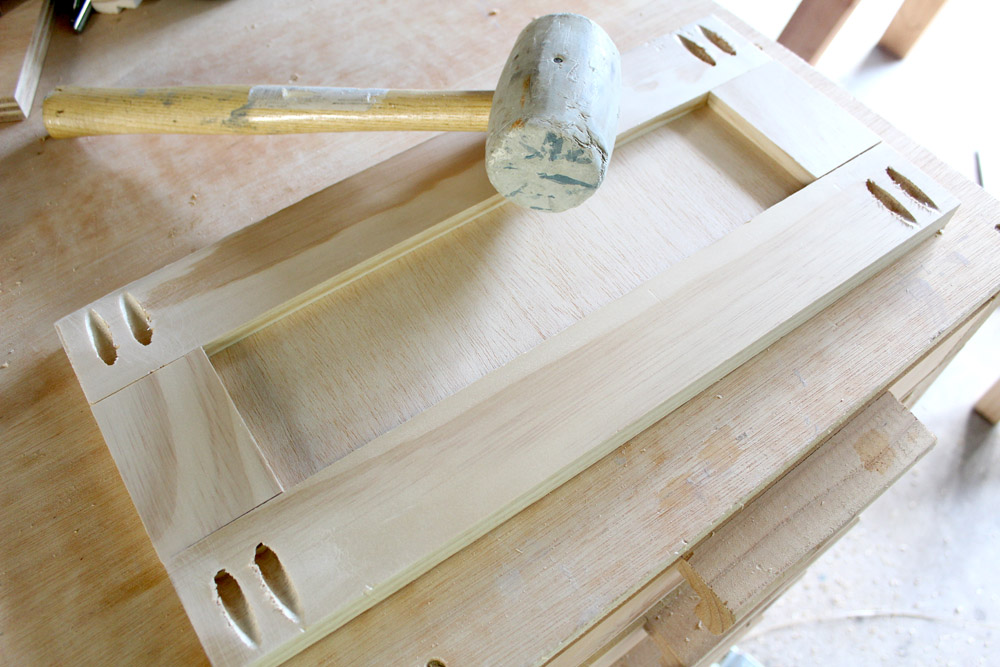
4. Assembling the Drawer Front Pieces
With the pocket holes drilled, assembly of the single panel drawer front pieces could begin. I started to knock the pieces together with a mallet.
Here's the fully assembled Amish-style drawer front. Next, I had to insert the pocket hole screws.
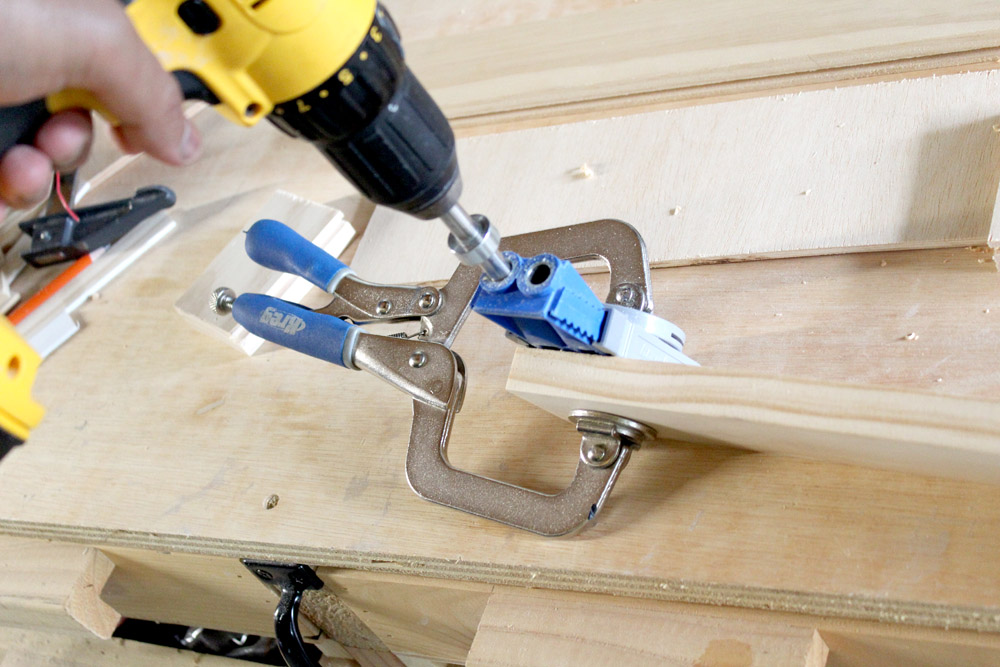
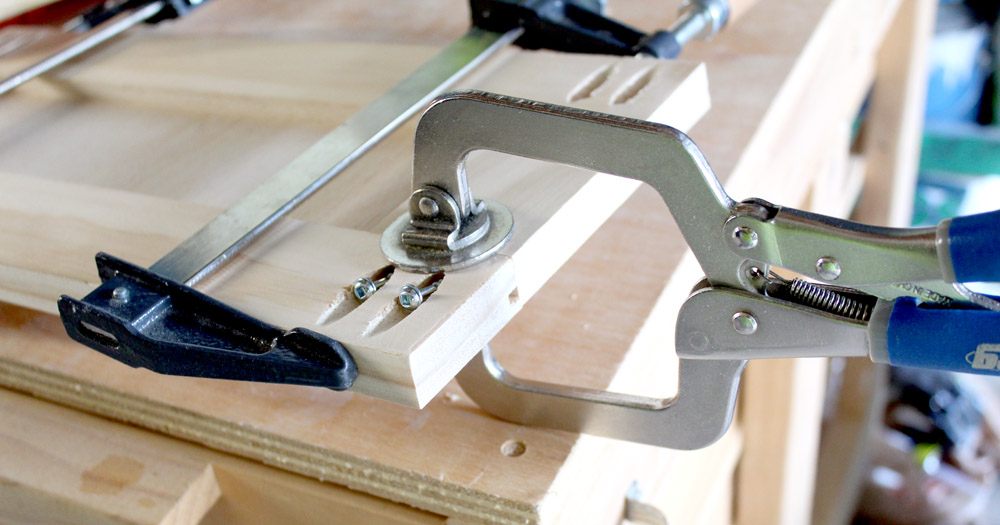
5. Locking the Pieces in Place
Here I am putting in the pocket hole screws. I used a bar clamp (left) and a face clamp (right) to help keep the pieces in place while I put the screws in.
6. Attaching Drawer Fronts to Drawers
Here's a helpful tip on attaching the DIY drawer fronts to drawers. To get the drawer fronts, lined up perfectly with the drawers, I found it easiest to attach them while the drawers were already in place:
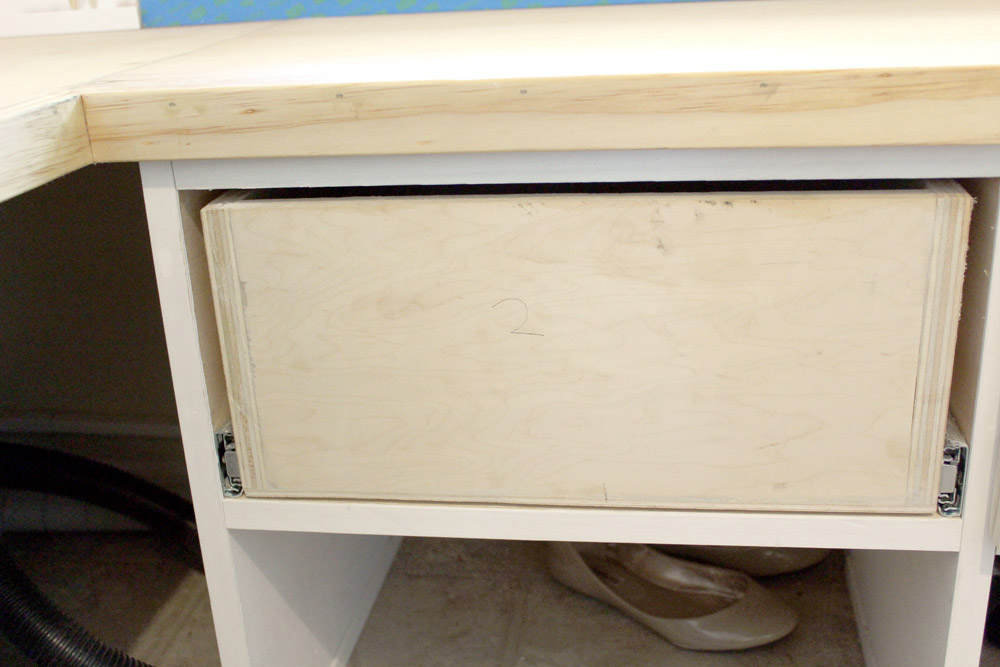
So I put the drawers in place (see above pic), I liberally used construction adhesive on the drawer itself.
Then, I pressed the drawer front to the drawer, adjusting it as necessary to make sure it was perfectly placed.
Once I was satisfied with the positioning, I locked it in place with a few finishing nails around the perimeter. I used about three nails on the left and three nails on the right. This strongly secured the shaker-style drawer fronts to my drawers.
If you don't have a finishing nailer, you could just insert some screws from inside the drawers to fasten the drawer fronts.
To finish the drawers off, I lightly sanded the edges to make them smooth.
7. Attaching the Handles to the Drawer Fronts
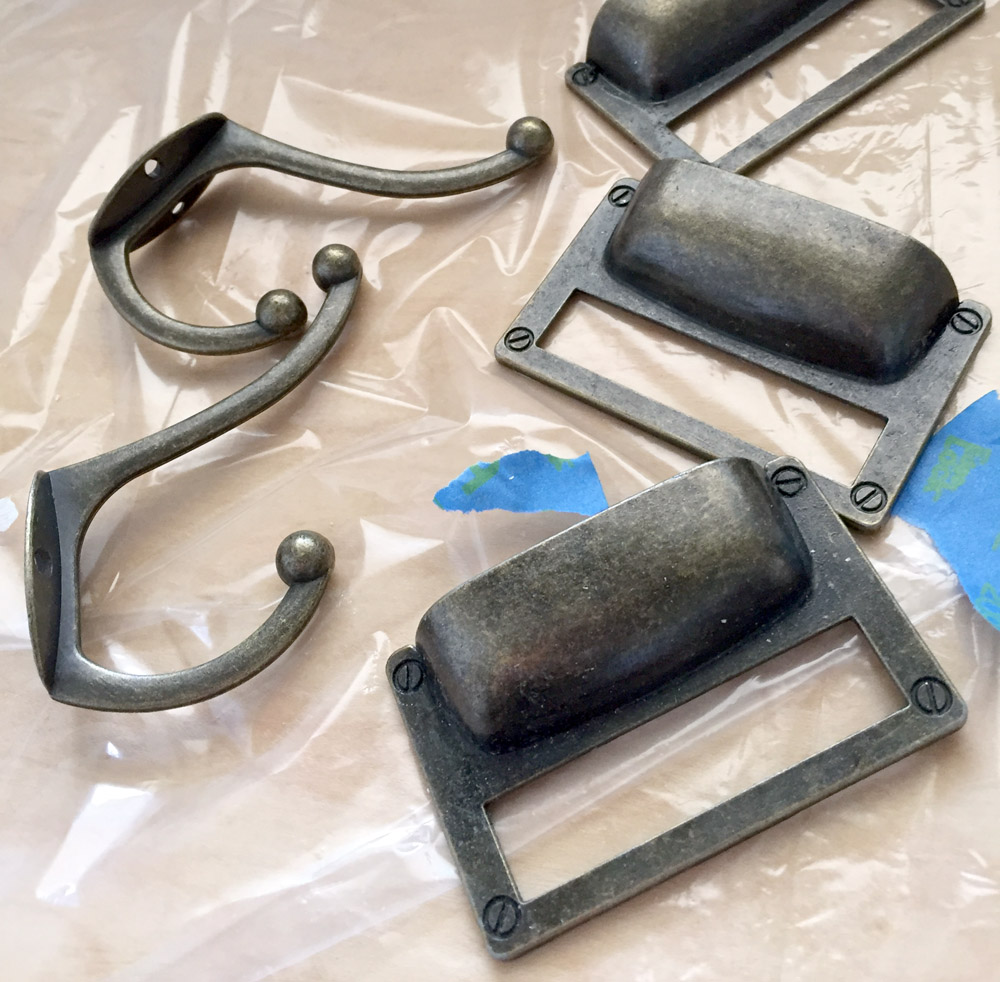
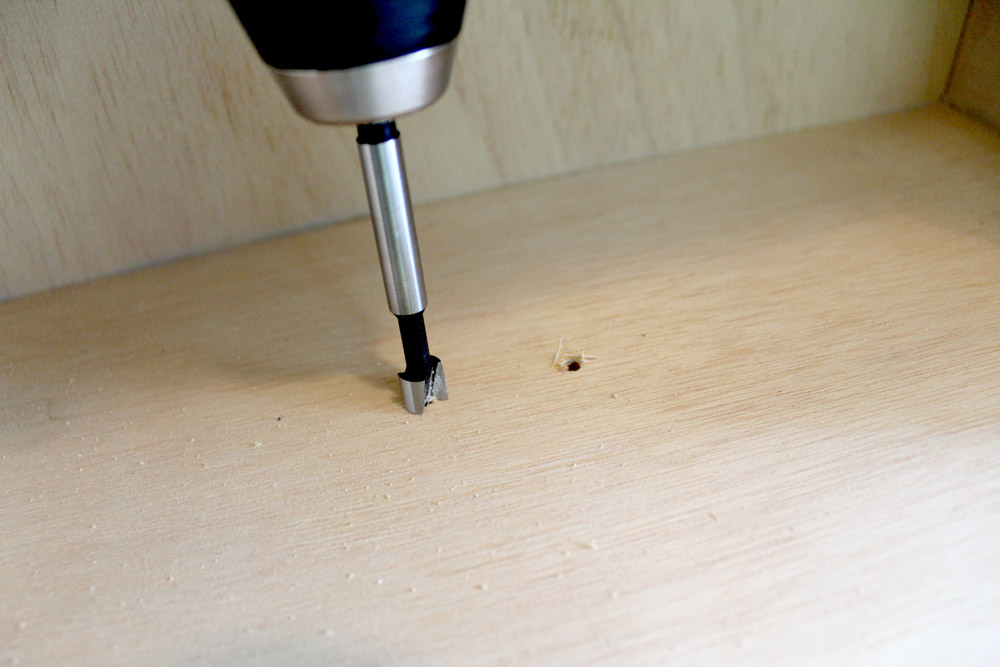
I did run into a small hiccup attaching some handles. My wife picked out these card catalog-style drawer pulls. The problem was that the screws that came with the drawer pull were not long enough to pass through both my drawer and the drawer front.
So I used a Forstner bit on my drill to cut away some of the wood inside the drawer to accommodate the screws. This worked perfectly.
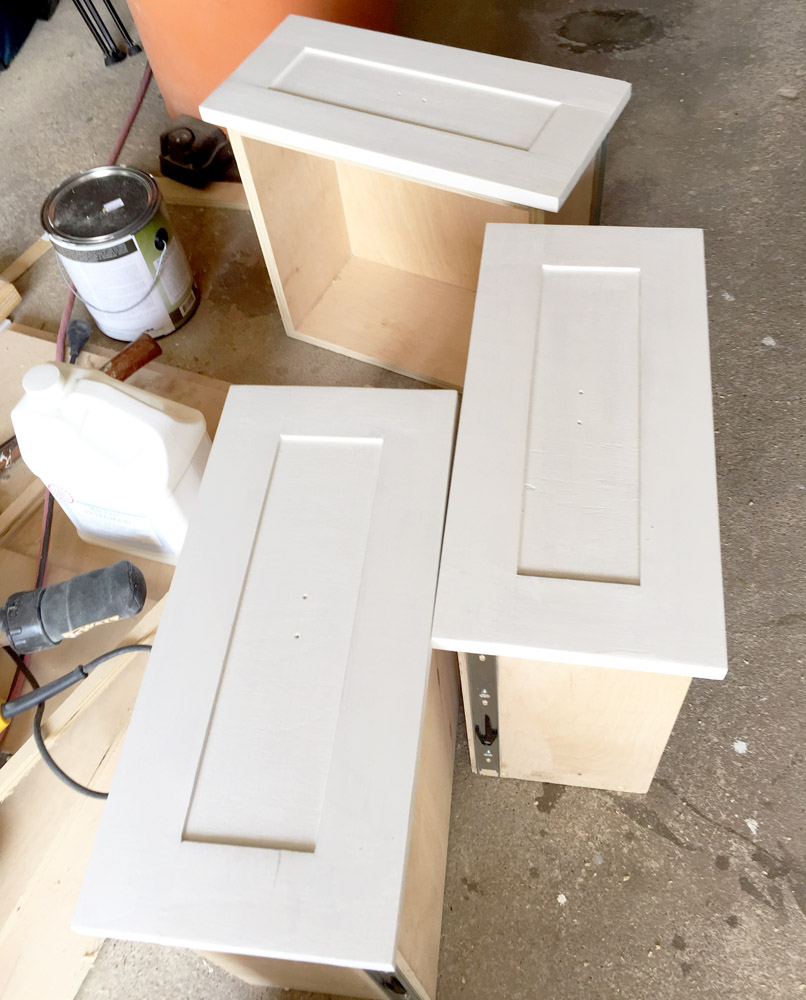
After a paint job (we loved using milk paint) and some drawer pulls, the drawers with awesome-looking drawer fronts are ready for action!
For the mudroom makeover, we did numerous things to makeover the space – painted the room, stenciled the wall, installed shiplap, built cubby shelves, added almost 20 hooks for organization, and everyone's favorite part is always the homemade drawers.
Not only is making things fun, but it feels wonderful to make things that make you feel productive and that others adore.
How To Build Shaker Drawer Fronts
Source: https://www.justmeasuringup.com/diy-drawer-fronts/
Posted by: axelsongairineyers.blogspot.com
0 Response to "How To Build Shaker Drawer Fronts"
Post a Comment